At Hotel Trader, one of our highest priorities is creating a seamless experience for your guests.
That's why we ask that new reservations and cancellation requests be confirmed and hotel confirmation numbers be sent to Hotel Trader within 24 hours of the booking request.
Great news! We now have THREE easy ways to do it!
Option 1 : Bulk Upload the Hotel Confirmation Codes
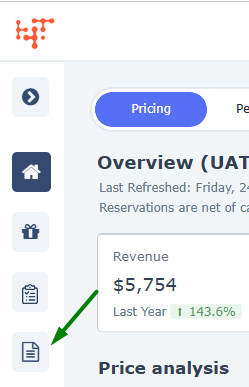
- Click on the Reservation report icon on the left navigation panel.
- For uploading PMS ID enter the following search criteria.
- Select the Exclude canceled option in the Cancelled reservations drop-down.
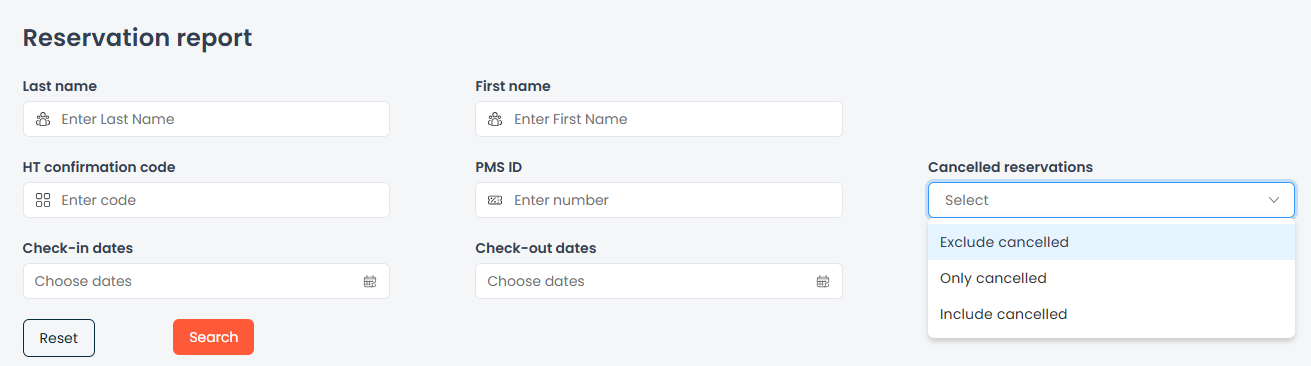
- Select the appropriate Booking creation date range, we recommend yesterday to today.
- Select the Exclude canceled option in the Cancelled reservations drop-down.
- For uploading cancellation ID enter the following search criteria.
- Select Only canceled reservations
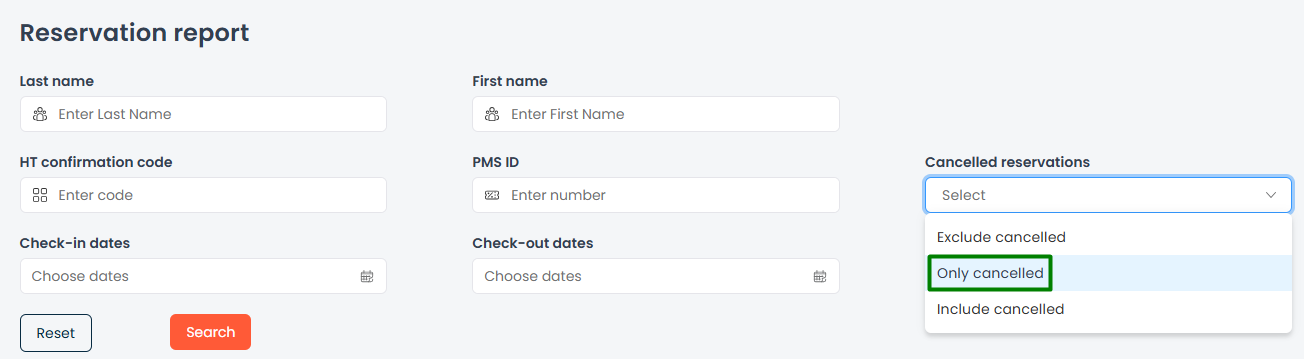
- Enter the appropriate Cancellation date range, we recommend yesterday to today.
- Select Only canceled reservations
- Click the Upload PMS ID/CXL ID button.
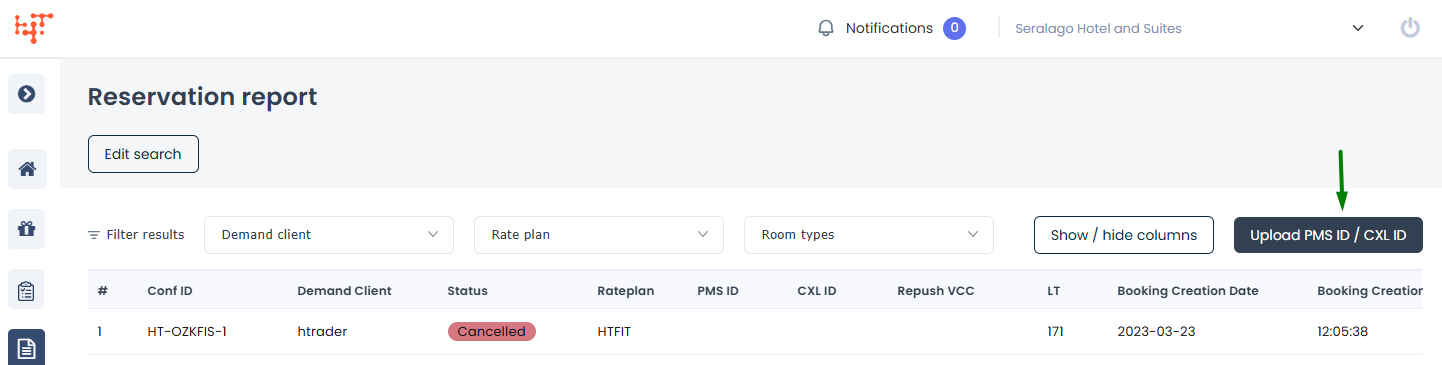
- Click the Export XLSX button on the pop-up.
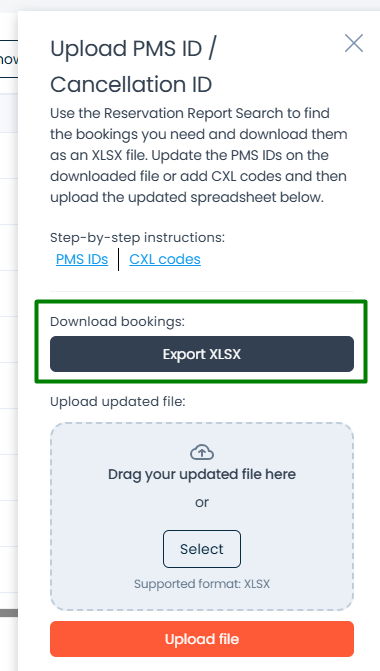
- The downloaded file includes the PMS ID and CXL ID columns.
- Fill in the data:
- For new reservations not in your system, create them and enter their PMS ID in the PMS ID column.
- Copy the cancellation ID from your system into the spreadsheet for canceled reservations.
- Save the Excel file for the next step.
- Go back to the Reservation Report and click the Upload PMS ID/CXL ID button.
- Drag and drop your saved file, or click Select to open the File Manager and choose your file.
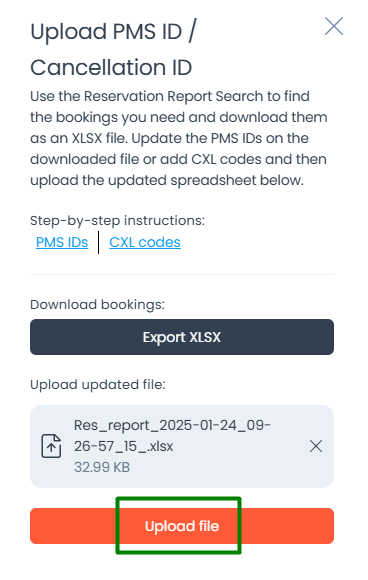
- Click Upload file.
- The reservations will be updated with the PMS/CXL ID.


Option 2 : Email us
Simply reply to the reservation request email with your Reservation or Cancellation number.
Your Hotel Confirmation or Cancellation ID will be automatically updated in the Hotel Trader system.
Option 3 : Add it directly in the Supplier Portal
- Navigate to HT Supplier Portal.
- Go to Reservation Report.
- Find the reservation.
- Click into the PMS Code or Cancellation Code field.
- Enter the value.
- Press Enter (or click outside the field) and it’s saved.
The update applies instantly!